Why AC Diagnostic Tests Matter for Your Home
Table of Contents
- Introduction to AC Diagnostic Tests
- Importance of AC Diagnostic Tests
- Common AC Diagnostic Tests
- Visual Inspection
- Thermostat Calibration Check
- Refrigerant Level Check
- Electrical Component Testing
- Airflow Measurement
- Step-by-Step AC Diagnostic Process
- Interpreting Diagnostic Test Results
- Preventive Maintenance and AC Diagnostic Tests
- FAQs about AC Diagnostic Tests
1. Introduction to AC Diagnostic Tests
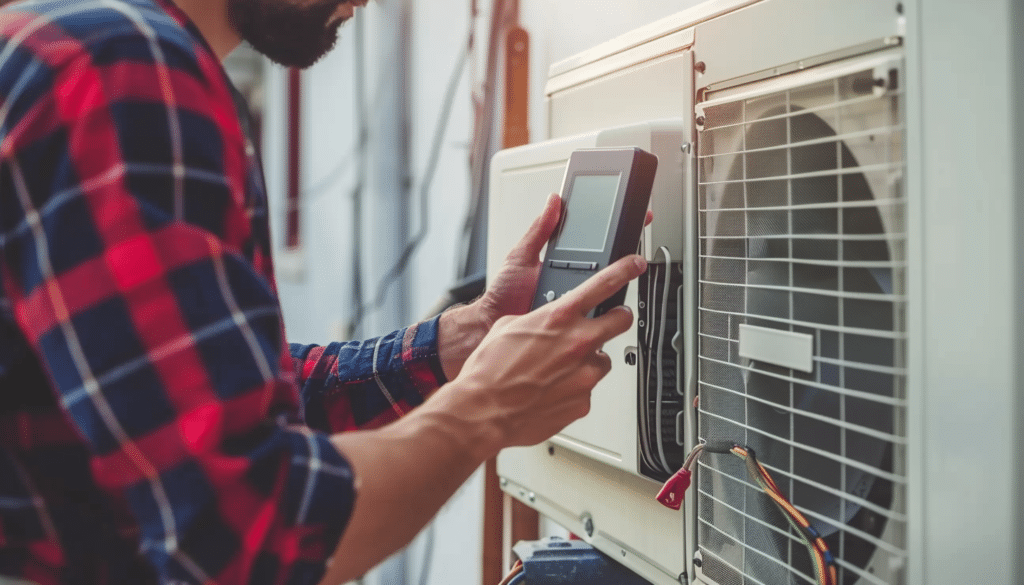
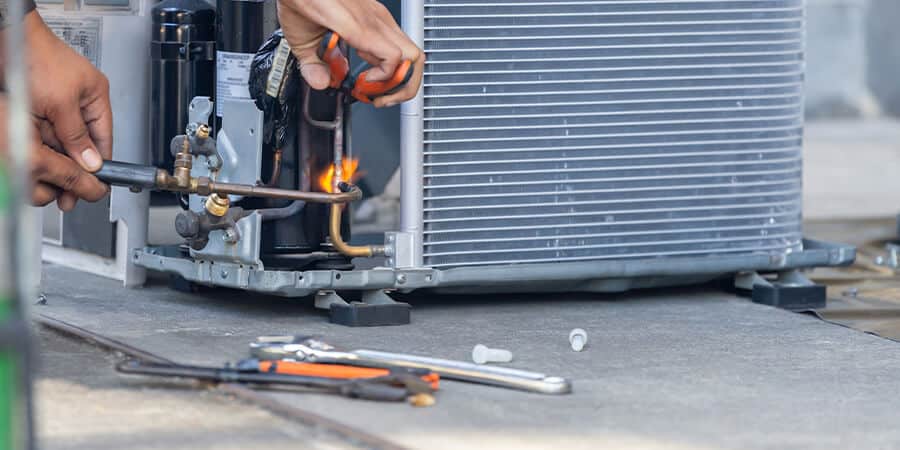
In the realm of HVAC services, AC diagnostic tests are essential tools used by technicians to identify issues within an air conditioning system. These tests are crucial in maintaining the efficiency, longevity, and safety of your AC unit. Whether you’re dealing with inconsistent cooling, unusual noises, or unexplained spikes in energy bills, an AC diagnostic test can pinpoint the exact problem and guide the necessary repairs.

2. Importance of AC Diagnostic Tests
AC diagnostic tests serve as the first step in troubleshooting air conditioning systems. They help in:
- Identifying Issues Early: Regular diagnostic tests can reveal potential problems before they escalate into more serious and costly issues.
- Improving Efficiency: By addressing minor issues promptly, these tests ensure your AC unit runs at optimal efficiency, which can reduce energy costs.
- Prolonging Lifespan: Timely repairs identified through diagnostic tests can extend the life of your AC system, delaying the need for expensive replacements.
- Ensuring Safety: Faulty components, if left unchecked, can lead to dangerous situations such as electrical fires. Diagnostic tests help in identifying these risks early on.
3. Common AC Diagnostic Tests
AC diagnostic tests encompass a variety of procedures, each targeting specific components of the air conditioning system. Below are some of the most common tests:
Visual Inspection
A thorough visual inspection is the foundation of any AC diagnostic test. Technicians look for signs of wear and tear, corrosion, leaks, and other visible issues that could impact the system’s performance.
- Key Components Checked:
- Coils (evaporator and condenser)
- Ductwork
- Thermostat
- External unit casing
Thermostat Calibration Check
The thermostat controls the temperature by signaling the AC unit when to start and stop. A calibration check ensures that the thermostat is reading the temperature accurately.
- Steps:
- Compare the thermostat setting with the actual room temperature.
- Adjust the calibration if there’s a significant discrepancy.
Refrigerant Level Check
Refrigerant is the lifeblood of an air conditioning system. A refrigerant level check ensures that the system has the correct amount of refrigerant, which is crucial for efficient cooling.
- Signs of Low Refrigerant:
- Warm air blowing from vents
- Ice buildup on the refrigerant lines
- Increased energy bills
Electrical Component Testing
AC units rely on various electrical components such as capacitors, relays, and wiring. Testing these components ensures they are functioning correctly and safely.
- Common Tests:
- Voltage check on capacitors
- Continuity tests on wiring
- Inspecting connections for wear or corrosion
Airflow Measurement
Proper airflow is essential for an AC unit’s performance. This test measures the air coming from the vents to ensure that it’s at the correct volume and pressure.
- What It Detects:
- Blockages in the ductwork
- Issues with the blower motor
- Leaks in the duct system

4. Step-by-Step AC Diagnostic Process
Performing an AC diagnostic test involves several key steps, each designed to uncover specific issues within the system. Here’s a step-by-step guide that technicians typically follow:
Initial System Assessment
- Start with a general overview of the system, noting any obvious issues such as strange noises, unusual smells, or visible damage.
Visual Inspection
- Conduct a detailed inspection of both the indoor and outdoor units, checking for signs of wear, leaks, or debris accumulation.
Thermostat Calibration
- Verify the accuracy of the thermostat and adjust as necessary to ensure it’s communicating correctly with the AC unit.
Refrigerant Check
- Measure the refrigerant levels and check for leaks. Adjust the levels if they are below the manufacturer’s recommendations.
Electrical System Analysis
- Test all electrical components including capacitors, relays, and wiring for proper operation and safety.
Airflow Evaluation
- Measure the airflow from the vents and ensure it meets the required specifications.
Performance Testing
- Run the system under various conditions to evaluate overall performance, checking for efficiency and consistent temperature control.
Reporting and Recommendations
- Compile the findings and provide a detailed report with recommendations for repairs or maintenance.

5. Interpreting Diagnostic Test Results
After performing AC diagnostic tests, understanding the results is crucial for making informed decisions about repairs or replacements. Here’s how to interpret the common findings:
- Low Refrigerant Levels: Indicates a leak or insufficient refrigerant, requiring immediate attention to avoid system failure.
- Electrical Faults: May require replacing components such as capacitors or fixing wiring issues to prevent electrical hazards.
- Airflow Issues: Could signal blockages, leaks, or blower motor problems, which need to be addressed to ensure proper cooling.
Technicians will typically provide a detailed explanation of the results, including the severity of the issues and the recommended course of action.
6. Preventive Maintenance and AC Diagnostic Tests
Regular AC diagnostic tests are a key component of preventive maintenance, which is essential for keeping your air conditioning system in top condition. Here’s how these tests integrate into a broader maintenance strategy:
- Scheduled Maintenance: Regularly scheduled maintenance, often biannually, includes AC diagnostic tests to catch potential issues before they develop into major problems.
- Component Longevity: Diagnostics help ensure that each component of the AC system is functioning correctly, thereby extending the life of the system.
- Cost Efficiency: By identifying and addressing small issues early, preventive maintenance reduces the likelihood of costly emergency repairs.
7. FAQs about AC Diagnostic Tests
Q1: How often should I get an AC diagnostic test?
A1: It’s recommended to have AC diagnostic tests performed at least once a year, typically before the peak cooling season. Regular testing can help maintain efficiency and prevent unexpected breakdowns.
Q2: What should I expect during an AC diagnostic test?
A2: A technician will inspect various components of your AC system, including the refrigerant levels, electrical systems, and airflow. They will also check the thermostat calibration and conduct a performance test to ensure everything is working properly.
Q3: Can I perform AC diagnostic tests myself?
A3: While basic maintenance like changing filters can be done by homeowners, AC diagnostic tests require specialized tools and knowledge. It’s best to leave these tests to trained professionals.
Q4: What are the signs that I need an AC diagnostic test?
A4: If you notice inconsistent cooling, unusual noises, or higher than normal energy bills, it’s a good idea to schedule an AC diagnostic test. These could be signs of underlying issues that need professional attention.
Q5: How long does an AC diagnostic test take?
A5: The duration of an AC diagnostic test can vary depending on the complexity of the issues. Generally, it takes between 30 minutes to an hour for a thorough inspection and diagnosis.

In conclusion, AC diagnostic tests are vital for ensuring the optimal performance of your air conditioning system. Regular testing not only helps in maintaining efficiency but also extends the lifespan of your unit, ultimately saving you time and money. By integrating these tests into your routine maintenance, you can enjoy a comfortable and worry-free cooling season.

