Diagnose HVAC System Issues: Step-by-Step Guide
Table of Contents
Step 1: Identifying the Symptoms of HVAC System Issues
Step 2: Checking Your Thermostat
Step 3: Inspecting Air Filters and Ductwork
Step 4: Evaluating Electrical Connections and Components
Step 5: Assessing Refrigerant Levels and Coils
Step 6: Testing Airflow and Ventilation
Step 7: Reviewing System Performance and Energy Efficiency
Conclusion: Maintaining Your HVAC System
FAQs: Common Queries About HVAC System Issues
Introduction: Understanding HVAC System Issues
Your HVAC system is the backbone of your home’s comfort, providing essential heating, ventilation, and air conditioning. However, when it begins to show signs of trouble, it can significantly impact your quality of life. Diagnosing HVAC system issues early can prevent costly repairs and prolong the life of your system. This guide will walk you through the essential steps to diagnose common HVAC system issues effectively.

Step 1: Identifying the Symptoms of HVAC System Issues
The first step in diagnosing HVAC system issues is identifying the symptoms. These symptoms can manifest in various ways, each pointing to different underlying problems. Paying close attention to these signs will help you pinpoint the issue more accurately.
Common Symptoms to Look For:
- No Airflow or Reduced Airflow: This could indicate a blockage or issue within the ducts or the fan.
- Strange Noises: Banging, clanking, or squealing sounds often signal loose or broken components.
- Unpleasant Odors: Musty or burning smells could mean mold growth, electrical issues, or debris in the system.
- Inconsistent Temperatures: If some rooms are too hot or too cold, it may suggest problems with your HVAC zoning or thermostat.
- High Energy Bills: A sudden spike in energy costs might indicate your system is working harder than it should, possibly due to inefficiency.
Step 2: Checking Your Thermostat
Your thermostat is the control center of your HVAC system. A malfunctioning thermostat can lead to significant HVAC system issues. Begin your diagnosis by checking if the thermostat is functioning correctly.
Steps to Check Your Thermostat:
- Check the Power Source: Ensure the thermostat is receiving power. If it’s battery-operated, replace the batteries.
- Verify the Settings: Make sure the thermostat is set to the correct mode (heating or cooling) and the desired temperature.
- Calibration Check: If your thermostat is not reading the correct temperature, it may need recalibration.
- Inspect Wiring: Loose or frayed wires can cause the thermostat to malfunction. Turn off the power before inspecting to avoid electrical shock.
By confirming the thermostat is working correctly, you can eliminate it as a cause of your HVAC system issues.

Step 3: Inspecting Air Filters and Ductwork
Clogged air filters and obstructed ductwork are common causes of HVAC system issues. Dirty filters can restrict airflow, while damaged ducts can lead to energy loss and uneven heating or cooling.
Steps to Inspect Filters and Ducts:
- Air Filter Check:
- Locate the air filter, usually found near the return air duct or the furnace.
- Remove the filter and hold it up to a light. If you can’t see through it, it’s time to clean or replace it.
- Replace or clean the filter every 1-3 months, depending on usage and filter type.
- Ductwork Inspection:
- Examine accessible ducts for visible damage, such as holes, gaps, or loose joints.
- Use a smoke pencil or incense stick to check for air leaks. Smoke that’s drawn into or pushed out of the ducts indicates a leak.
- Seal any leaks with mastic sealant or metal tape, and consider professional help for extensive repairs.
Keeping your filters clean and ducts sealed is crucial for maintaining efficient HVAC operation.
Step 4: Evaluating Electrical Connections and Components
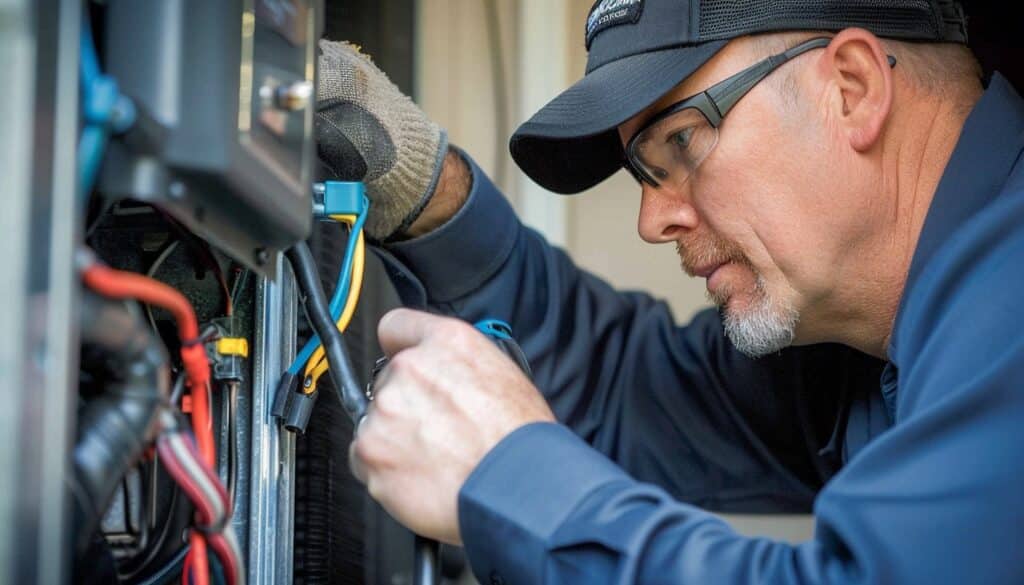
Faulty electrical connections can lead to a range of HVAC system issues, from the system not turning on to inconsistent operation. Inspecting the electrical components is a vital step in your diagnostic process.
Steps to Evaluate Electrical Components:
- Power Supply Check: Ensure the HVAC system is connected to a power source and the circuit breaker hasn’t tripped.
- Inspect Wiring: Look for signs of wear, such as frayed wires or burnt marks. Damaged wiring can cause shorts and system failures.
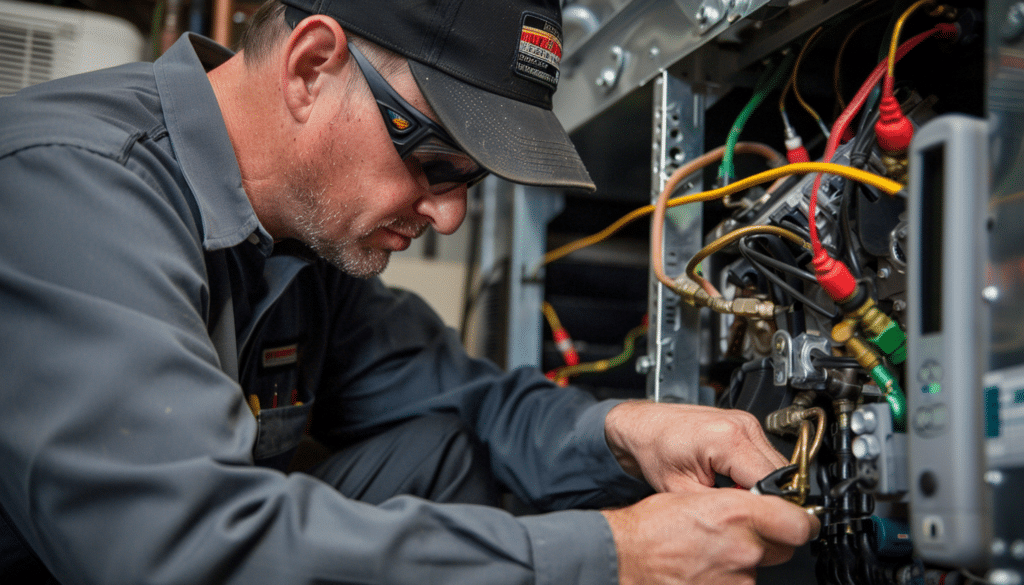
- Capacitor and Relay Testing: Use a multimeter to check if capacitors and relays are functioning properly. Faulty capacitors can prevent the motors from starting.
- Examine Safety Switches: Check that all safety switches are operational, as they prevent the system from running under unsafe conditions.
Regular inspection of electrical components can prevent major HVAC failures and ensure your system operates safely.

Step 5: Assessing Refrigerant Levels and Coils
Low refrigerant levels or dirty coils can cause your HVAC system to lose its cooling efficiency, leading to HVAC system issues like warm air blowing from the vents or frost on the coils.
Steps to Assess Refrigerant and Coils:
- Refrigerant Check:
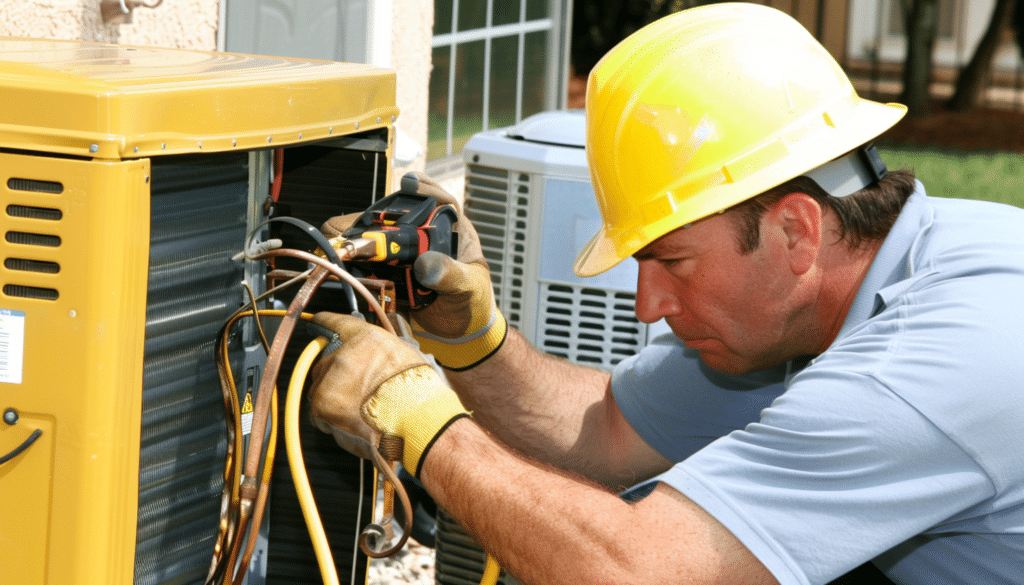
- Use gauges to measure the refrigerant pressure in the system. Low pressure may indicate a leak.
- If the refrigerant is low, a licensed technician should repair the leak and recharge the system.
- Coil Inspection:
- Check the evaporator and condenser coils for dirt and debris, which can impede heat transfer.
- Clean the coils with a soft brush or a coil cleaner spray designed for HVAC systems.
- Ensure the area around the outdoor condenser unit is clear of obstructions to allow proper airflow.
Maintaining proper refrigerant levels and clean coils is essential for efficient system performance.
Step 6: Testing Airflow and Ventilation
Airflow problems can be a significant cause of HVAC system issues. Proper ventilation ensures that your system heats and cools your home effectively.
Steps to Test Airflow:
- Measure Airflow: Use an anemometer to measure the airflow from the vents. Compare the readings with the manufacturer’s specifications.
- Check for Blockages: Ensure that all vents and registers are open and not obstructed by furniture, rugs, or curtains.
- Inspect Fan Operation: Listen for unusual sounds from the blower fan, which could indicate a problem with the motor or fan blades.
- Evaluate Ventilation: Ensure the system’s ventilation is balanced, providing adequate fresh air while removing stale indoor air.
Proper airflow and ventilation are crucial for your HVAC system’s efficiency and your indoor comfort.
Step 7: Reviewing System Performance and Energy Efficiency
Finally, evaluate your HVAC system’s overall performance and energy efficiency. This step helps determine whether your system is operating optimally or if further action is needed.
Steps to Review Performance and Efficiency:
- Monitor System Cycles: Note how often your system cycles on and off. Short cycling can indicate an oversized system or thermostat issues.
- Compare Energy Bills: Review your energy bills for any unusual increases, which could signal inefficiency in your system.
- Conduct a Temperature Test: Use a thermometer to check if the temperature in your home matches the thermostat setting.
- Professional Assessment: Consider scheduling a professional energy audit to identify any areas where your HVAC system could improve.
Regular monitoring of your system’s performance and efficiency can help you catch minor issues before they become major problems.

Conclusion: Maintaining Your HVAC System
Diagnosing HVAC system issues is a critical skill for maintaining a comfortable and energy-efficient home. By following these essential steps, you can identify and address common problems early, ensuring your system runs smoothly throughout the year. Regular maintenance, such as checking filters, inspecting electrical components, and assessing refrigerant levels, will prolong the life of your HVAC system and keep it operating efficiently.
FAQs: Common Queries About HVAC System Issues
Q1: How often should I replace my HVAC system’s air filters?
A: It’s recommended to replace air filters every 1-3 months, depending on the type of filter and how often your system runs. Regular replacement ensures optimal airflow and efficiency.
Q2: What causes my HVAC system to short cycle?
A: Short cycling can be caused by an oversized system, a malfunctioning thermostat, or airflow issues. It’s essential to address this problem quickly to prevent system wear and energy waste.
Q3: How can I tell if my HVAC system is low on refrigerant?
A: Signs of low refrigerant include the system not cooling effectively, ice on the coils, and hissing noises from the unit. A licensed technician should repair any leaks and recharge the system.
Q4: Why is my HVAC system making strange noises?
A: Unusual noises can result from loose components, a failing motor, or debris in the system. Each type of noise can indicate a different issue, so it’s important to investigate the source promptly.
Q5: Is it worth repairing an old HVAC system?
A: If your system is over 10-15 years old and frequently needs repairs, it might be more cost-effective to replace it with a newer, more efficient model.
By staying informed and proactive, you can ensure your HVAC system remains reliable, keeping your home comfortable and energy-efficient year-round.

